
To activate a SBD device navigate to:
Provisioning -> Iridium SBD -> Activation Wizard

Choose the customer from the dropdown list.
Enter either a single IMEI from the dropdown or for multiple activations paste comma-separated IMEI’s in the text box.
Terminal names can be overwritten by the value specified in the Card Name field. The Overwrite Card Names slider controls whether all cards or only unnamed cards get the name.
Note: In this activation wizard, all terminals will receive the same card name. Use the Upload Card Details process to update specific names for each terminal.
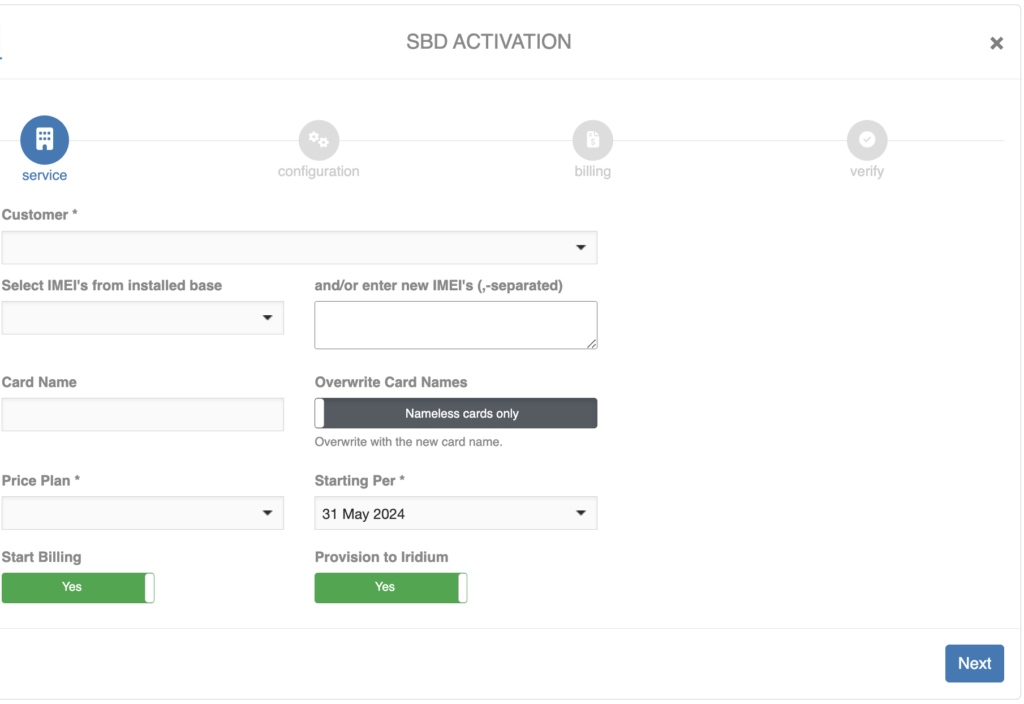
Choose the Price Plan and enter the start date for the subscription.
For a normal activation set both Start Billing and Provision to Iridium to Yes.
Click [Next].
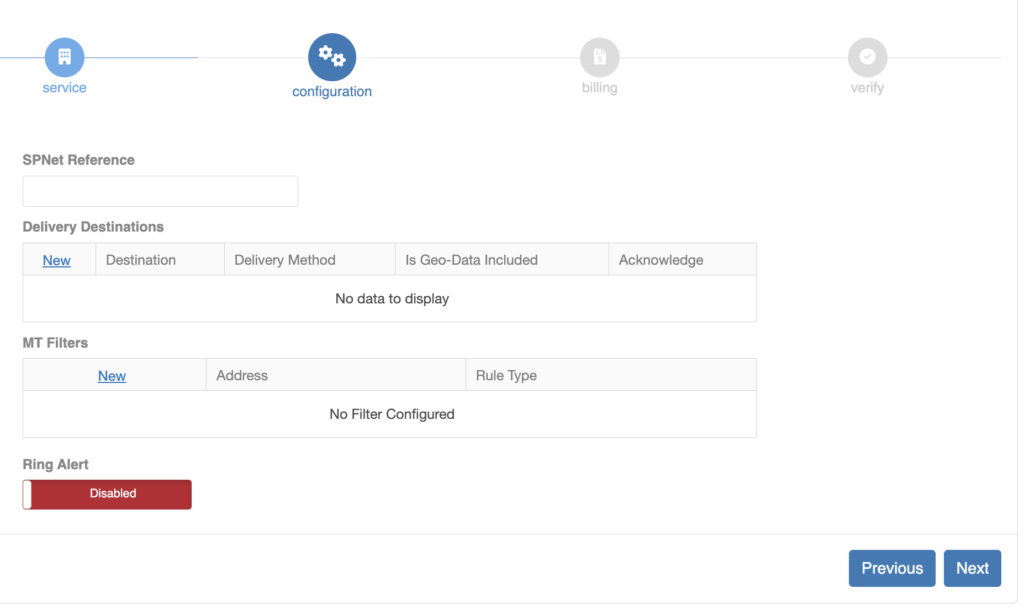
The delivery destinations have to be known prior to the activation. Select [New] in the Delivery Destinations table to start adding a new delivery destination for the messages. It is possible to add multiple destinations, that will all receive the same messages.
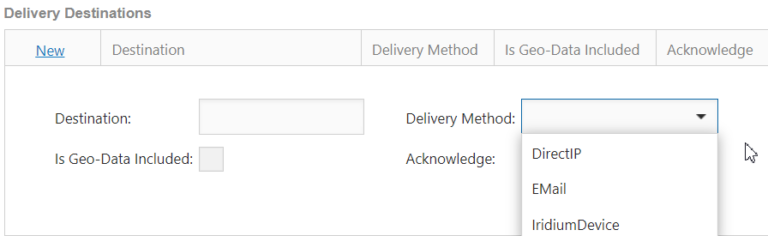
There are three delivery destination methods: Direct IP (including Iridium CloudConnect), email or another Iridium device. Add all the destinations required.
Move to the next section on the same screen, MT Filters (MT=Mobile Terminating). This section determines which sources can send messages to the terminal.
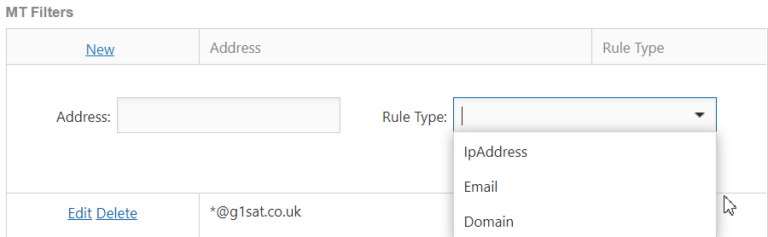
There are three source identifiers for allowing messages to be sent to the terminal: IP address, email or domain. Add all the sources allowed.
At the bottom of the page there is the option to enable the ring alert for messages, this will generate a sound alert. Only enable this if specifically required.
Select [Next] to go to the billing screen.
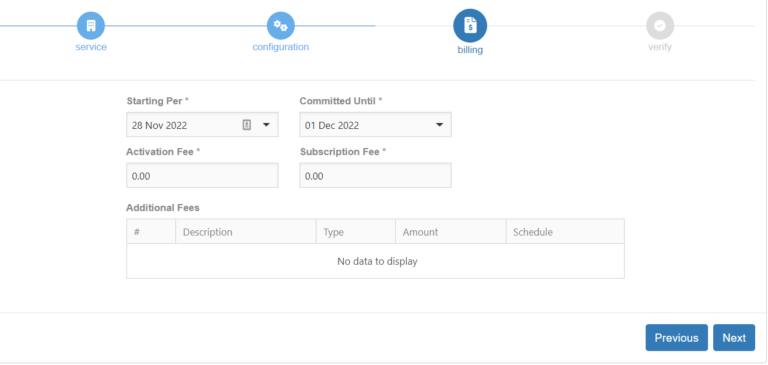
On this screen, the start date, commitment date and fees are displayed and can be updated if the user has the Billing Admin role.
Select [Next] to go to the verification screen and if all is correct, click [Submit] to finalise the activation. The order will be processed in approximately 10 minutes. The process of the activation can be followed in the Provisioning Tasks screen, see Monitor Provisioning Tasks.