
This instruction explains how to activate an EchoStar Mobile terminal in IBIS. (IBIS will provision to the EM PiP via APIs)
Prerequisites:
- SIM card details meet all criteria, make sure the SIM is assigned to the correct product in both IBIS & the EM PIP.
- The customer to activate the device for has been created. If not, go to customer creation
- The priceplan to activate the device on has been created and is made available to this customer. If not, go to price plan creation
- The default firewall settings for the customer are known and set up, if not, go to create firewall rules.
Instructions:
Find the device in [Installed Base] and click hyperlink of the ICCID
This will open Open SIM card/Terminal Details screen, click [Activate] on the bottom of the page
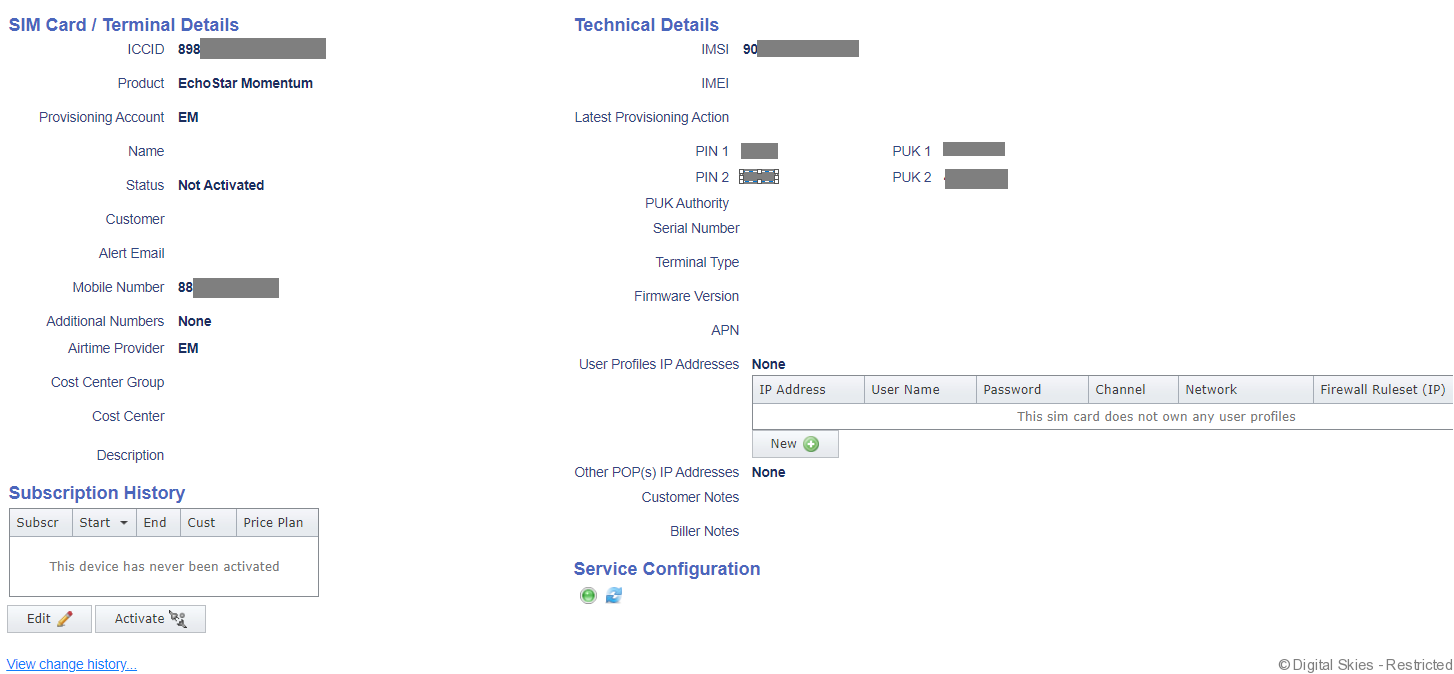
The [Activate] button will open the activation screen:
The Customer, Product and ICCID will auto populate. Check these are correct before proceeding.
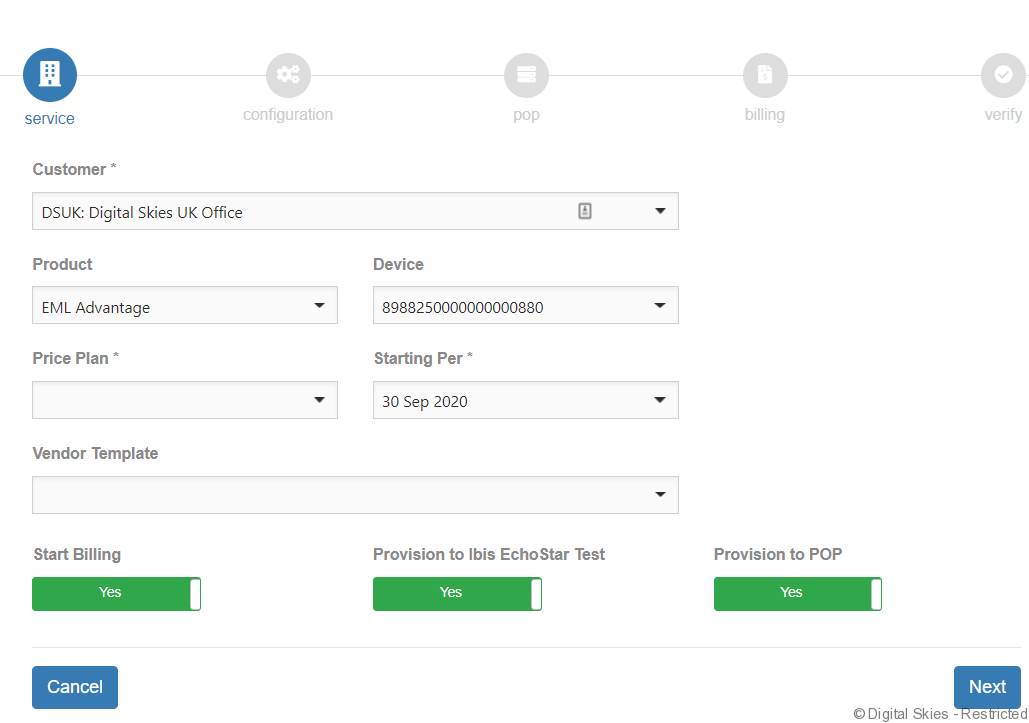
Select the price plan requested from the drop down menu.
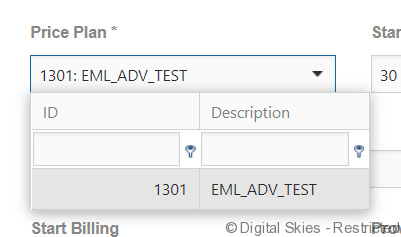
The Vendor Template will auto populate based on the price plan you have selected.

For a standard activation you will leave the following options as ‘Yes’.

- Start Billing creates the subscription in IBIS
- Provision to IBIS EchoStar sends a provisioning task to EM PiP (send provider)
- Provision to POP is for profile creation.
Select [Next]
![]()
The next page is used to configure APN and voice services (Voice is only for EM Advanced, for EM Momentum this option will not appear). If a second API is required, this can be added at the moment of activation as APN URI 2.
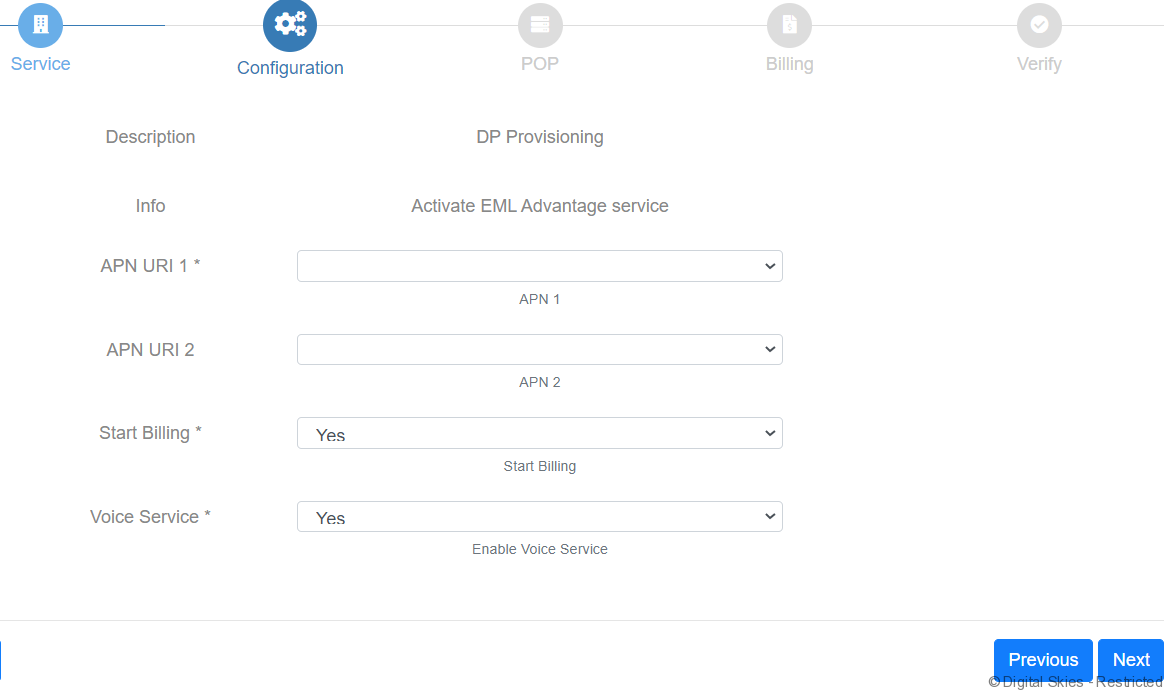
During an activation there is the option to add up to 2 APNs to the SIM card. If more APNs are required follow the Change Service configuration instructions.
Select the APN/s required for the SIM card using the drop down list. Only EM APNs available to this customer will be visible. If only 1 APN is required, leave APN URI 2 blank.
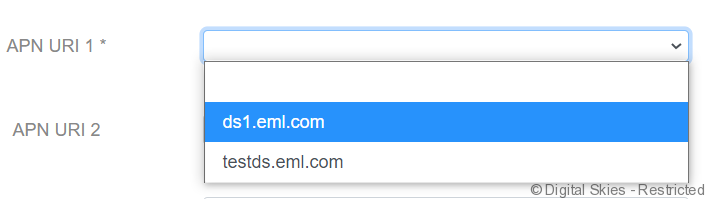
When ready click [Next]
![]()
The next page is for PoP configuration
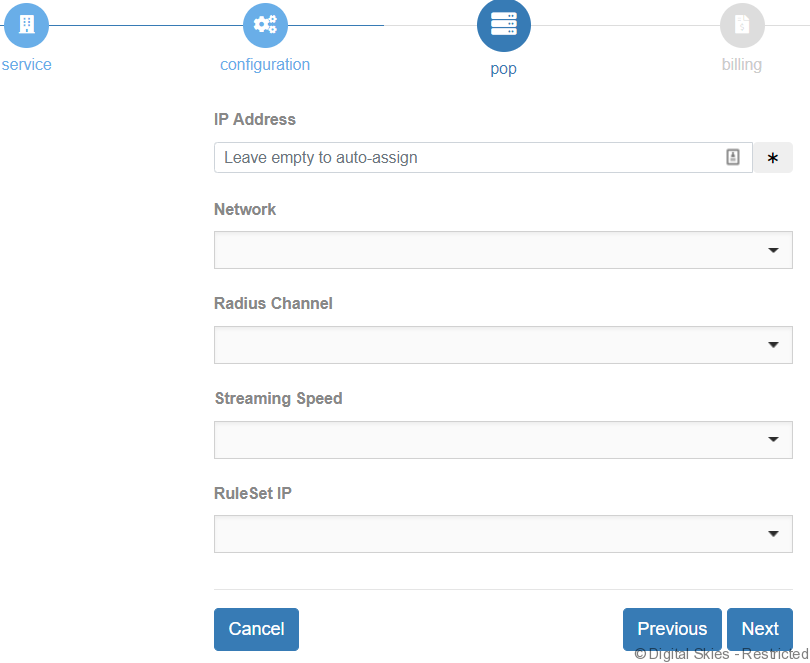
In the IP Address field, leave it blank to auto assign an IP address to the User Profile. If the IP address is already known, type it in here.
In the network field, use the drop down list to select the correct EM network.
The Radius Channel will be auto populated based on the network selected.
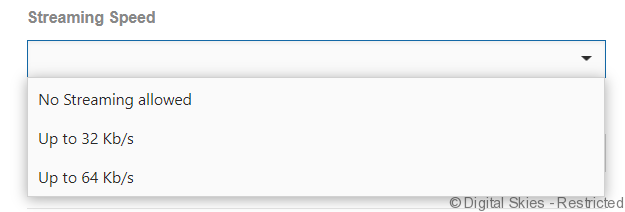
Streaming Speed (only available for EM Advanced plans, for EM Momentum this will default as ‘No Streaming Allowed’). Select the streaming speed required.
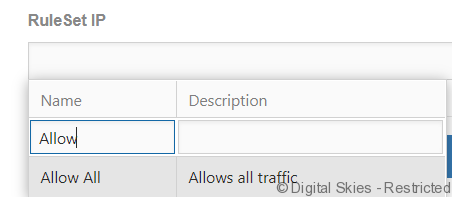
Rule Set IP – Allocated the required Firewall Rule from the drop down list. If the ruleset required is not available please check the settings and see if it is available for this customer.
Click [Next]
![]()
The next page is for the user to confirm the start & commitment date is correct as add any other fees that may be applicable.
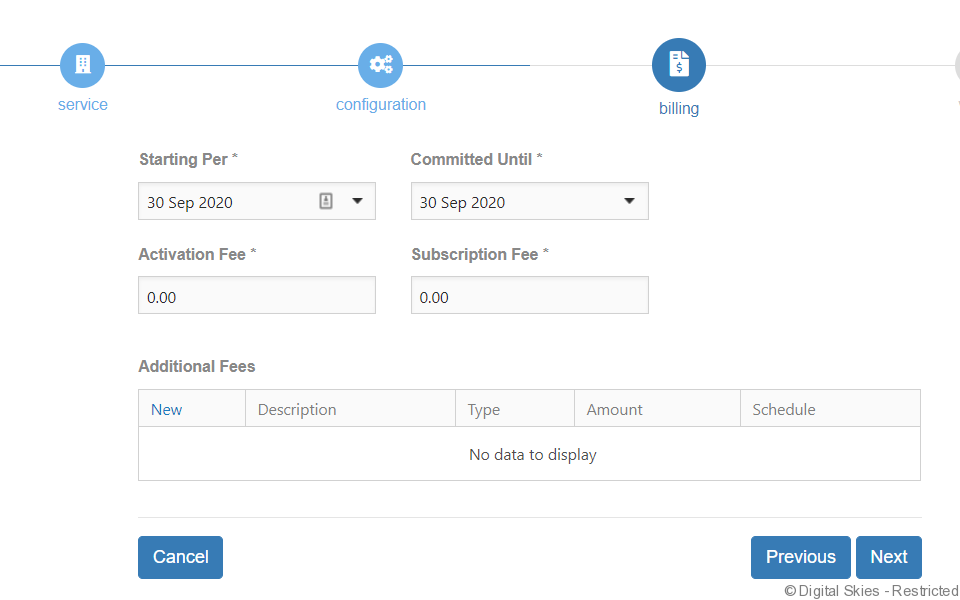
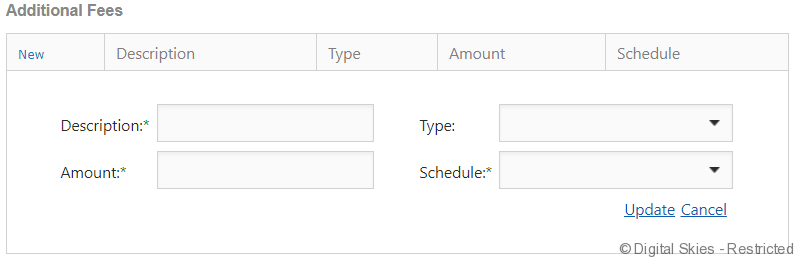
If an additional fee is required, click on the [New] link and complete the required details and click [update]
Click [Next]
![]()
The last page is a confirmation page for the user to check everything is correct.
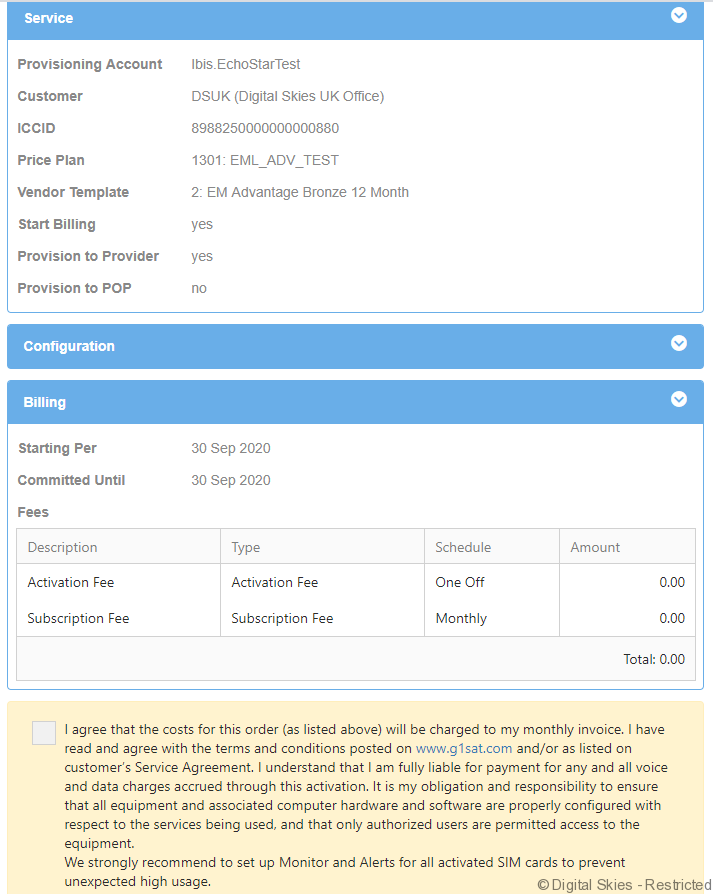
The user will be prompted to read and agree with the Terms & Conditions of the activation request before proceeding. Tick the agreement box before clicking [Finish]
The user will receive a provisioning task creation confirmation and can monitor the task through to completion via the provisioning task menu.